If you’ve ever landed in a new country with 2% battery, shaky airport Wi‑Fi, and Google Maps refusing to load—then you already know why a travel eSIM is such a relief.
The good news: choosing the best eSIM plan for travel isn’t complicated. The bad news: people usually overpay (buy way too much data) or underbuy (and run out right when they need an address, a QR ticket, or a taxi app).
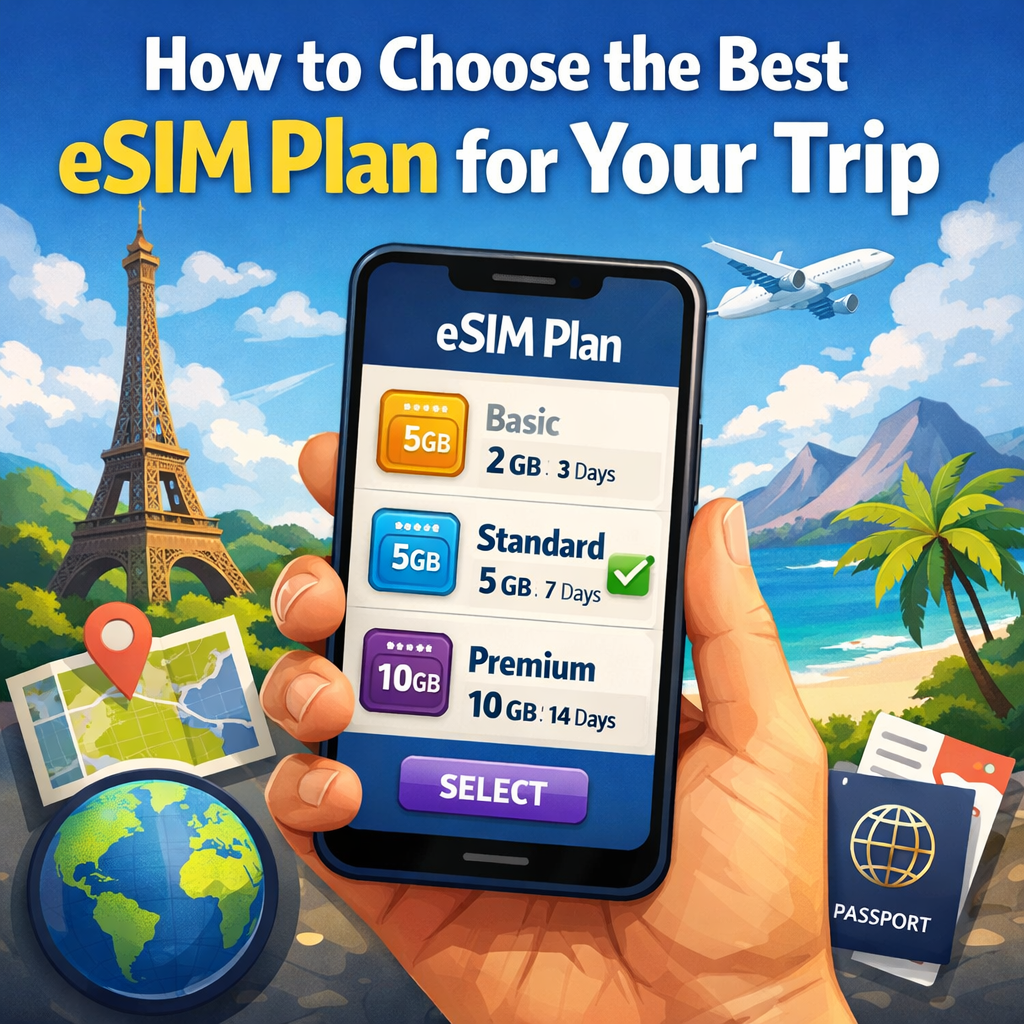
Let’s fix that with a simple, traveler-friendly way to pick the right plan.
Start with two boring checks (they save real pain)
1) Is your phone eSIM‑compatible?
Most newer iPhones and plenty of Android phones are, but don’t assume. The fastest check is in your phone settings:
- On iPhone, look for Add eSIM under Cellular/Mobile Data.
- On Android, it’s usually under SIM Manager / Network & Internet.
2) Is your phone carrier‑unlocked?
This one matters more than people think. A locked phone may refuse to add another carrier profile, even if it supports eSIM.
If you’re not sure, check it before you buy anything. It’s a 30‑second step that can save you a frustrating “why won’t this activate?” moment.
Step 1: Choose coverage you won’t regret (Country vs Region vs Global)
There are three common plan types. The right choice depends on your itinerary, not on what sounds “premium”.
Country plan
Pick this if your trip is basically “one country, one base”.
Example: Italy for 10 days. Japan for a week. Mexico for a weekend.
Country plans are usually the best value because everything is optimized for that one destination.
Regional plan
Pick this if you’re crossing borders in the same part of the world.
Example: a Europe trip where you’ll hop between 3–6 countries, or an Asia itinerary with a couple of stops.
This option is underrated: you install once, travel normally, and you’re not juggling multiple eSIM profiles.
Global plan
Pick this if your route is unpredictable or crosses multiple regions (Europe + Middle East + Asia, etc.).
It’s often more expensive per GB—but it’s convenient when your travel plans change mid‑trip.
Quick rule that works:
- 1 country → country plan
- 2+ countries in one region → regional plan
- many regions / unpredictable route → global plan
Step 2: Match plan duration to your trip (with a small buffer)
Plan duration looks simple (“7 days”, “15 days”, “30 days”), but travel days aren’t clean calendar blocks.
Give yourself a little padding if:
- you arrive late at night or leave early in the morning,
- you cross time zones,
- you have a layover country where you might still need data.
A good habit: plan length = trip length + 1 day (especially for short trips).
Step 3: Estimate data like a normal person (not like a spreadsheet)
Here’s the truth: most travelers don’t burn data on maps or messages. They burn it on video and hotspotting a laptop.
A realistic data “personality test”
Pick the closest one:
Light user (1–3 GB/week)
Maps, iMessage/WhatsApp, email, checking bookings, occasional browsing.
Normal user (5–10 GB/week)
Social media, lots of photos, browsing, regular maps, some short video clips.
Heavy user (15+ GB/week)
Streaming video, uploading content daily, using hotspot, video calls, remote work.
One simple warning about streaming
If you stream Netflix or YouTube on mobile data, even a “big” plan can disappear fast. Video quality makes a huge difference, and most apps default to “best possible quality” unless you change it.
If your trip includes long trains, beach days, or hotel Wi‑Fi you don’t trust—assume you’ll stream. Then buy more data than you think you “should”.
Step 4: Data‑only vs a plan with a phone number
Many travel eSIMs are data‑only, and that’s usually fine.
Why? Because most “phone stuff” travelers actually need can run on data:
- messaging apps,
- calling via WhatsApp/Telegram/FaceTime/Google Meet,
- ride-hailing and delivery apps,
- banking confirmations (if your bank uses push notifications).
When do you need a local number?
- if you’re doing lots of old‑school voice calls to local businesses,
- if a local service requires local SMS verification (less common, but it happens).
For most trips, a data plan + your regular SIM for calls/SMS is the easiest setup.
Step 5: Hotspot matters (especially if you work while traveling)
If you’ll share your eSIM data with:
- a laptop,
- a tablet,
- another traveler,
…then hotspot/tethering is not a “nice to have”. It’s the difference between working normally and hunting for café Wi‑Fi.
Plan for hotspot use as Heavy user, even if your phone usage is Light/Normal.
Step 6: Know when your plan actually starts (people mess this up)
This is the most common mistake: installing the eSIM early and accidentally starting the plan early.
With eSIM2get travel plans, the bundle starts when the eSIM first connects to a supported network with Data Roaming enabled—you can’t schedule a future start time. The practical move is:
- install the eSIM at home (calm environment, stable Wi‑Fi),
- but don’t set it as your active data line until you land.
That way you don’t waste days before the trip even starts.
Step 7: Plan for “what if I run out of data?”
Because it happens.
On fixed‑data bundles, once you consume all data, service stops (even if you still have days left). On some “unlimited” bundles, you may get throttled after a high‑speed allowance (depends on the plan).
So when you choose a plan, think:
- Do I want a smaller plan + top‑up flexibility?
- Or do I want a bigger plan so I can forget about it?
A quick “2‑minute chooser” (use this if you don’t want to overthink)
- Where are you going?
- 1 country → country plan
- multiple countries → regional/global plan
- How long?
- choose duration that covers the trip + a small buffer
- How do you use your phone?
- maps + messages only → small plan
- social + photos → medium plan
- video / hotspot / work → large plan
- Do you need hotspot?
If yes, bump your data tier up.
Done.
Installing your eSIM (the “don’t mess this up” version)
On eSIM2get the flow is straightforward:
- choose destination,
- pick a plan,
- after payment, you receive the QR code,
- scan it in your phone settings and label it (for example “Travel eSIM”).
If you want the exact step-by-step for iPhone/Android, link your readers to your eSIM Install page and FAQs—those are the pages people actually need when they’re about to scan the QR code at midnight before a flight.
Final thought
The best eSIM plan for your trip is the one you never have to think about again once you land.
Pick the right coverage, buy enough data for your habits (not someone else’s), install before you fly, and switch it on when you arrive. After that: maps work, messages send, and roaming bills don’t show up later like a bad surprise.